


Free Design Service
Stickerforgeco provides unique and vibrant colors and sharp designs to make your labels and stickers impressive.
Get bulk orders for 30% less than local suppliers, plus free samples.
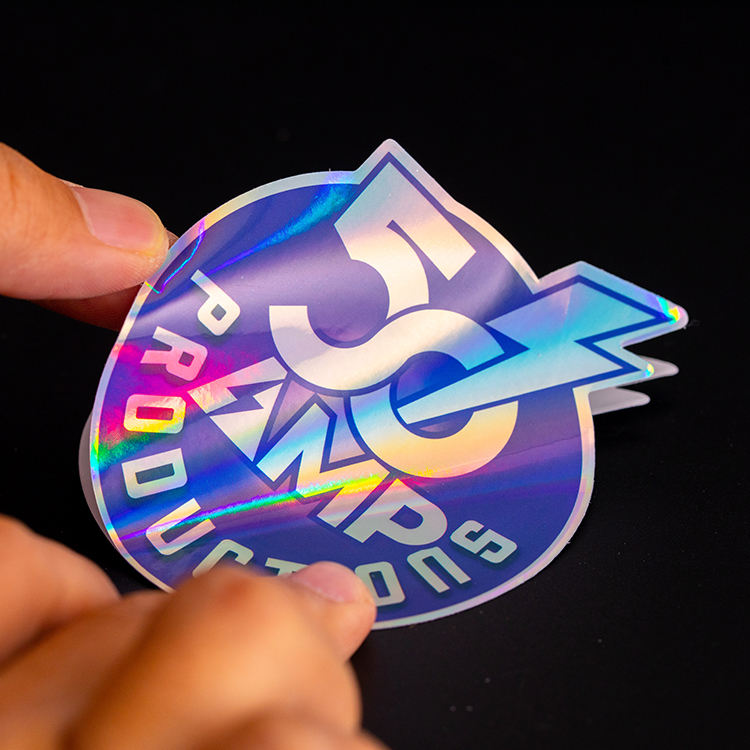
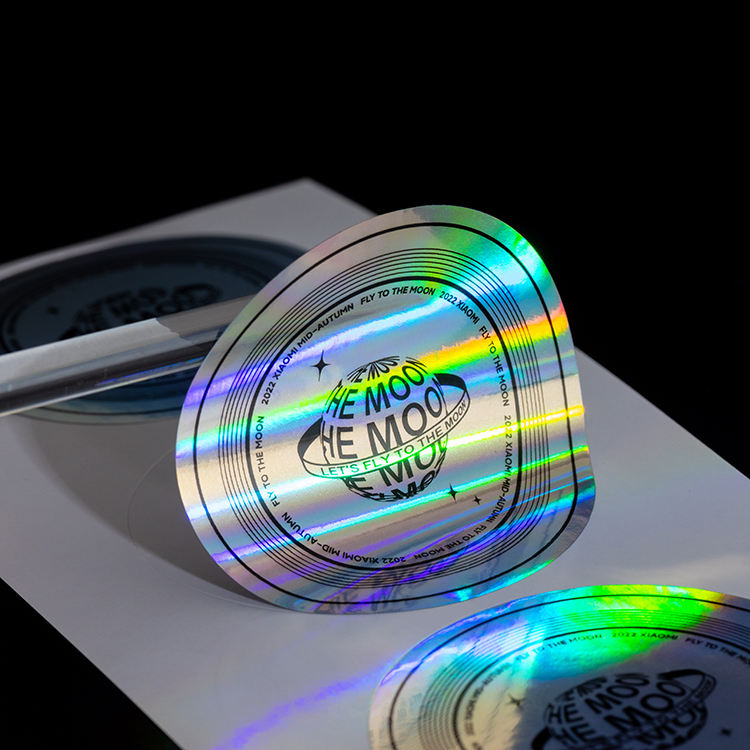
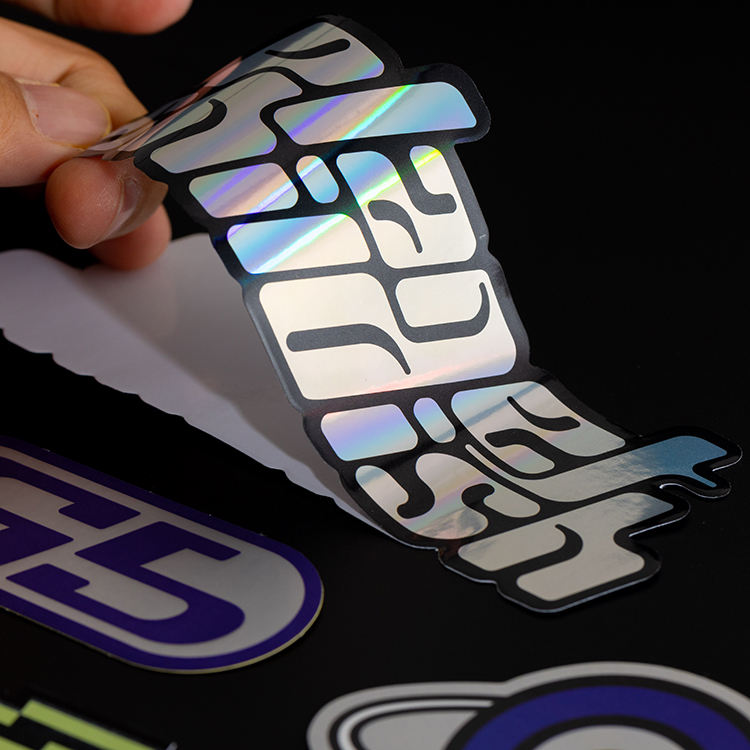
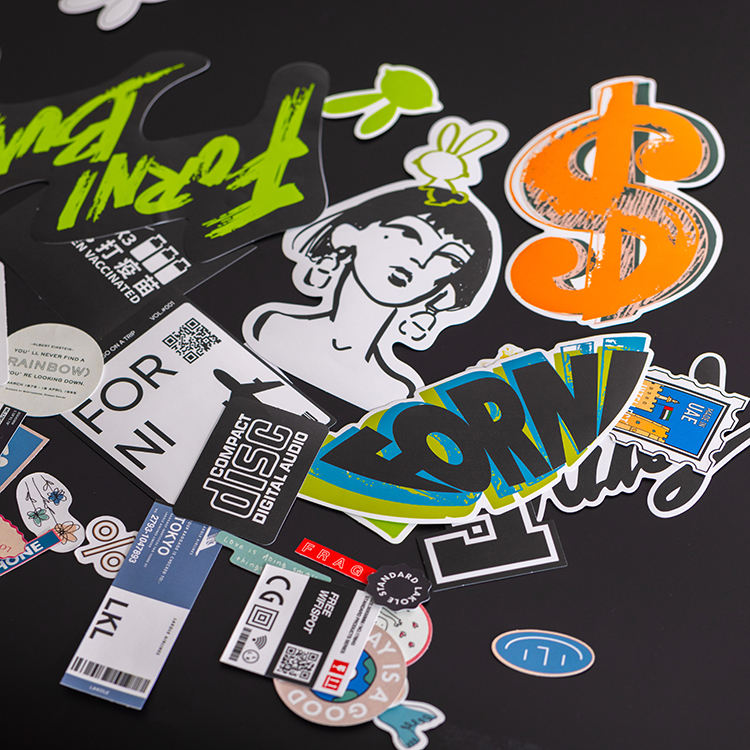
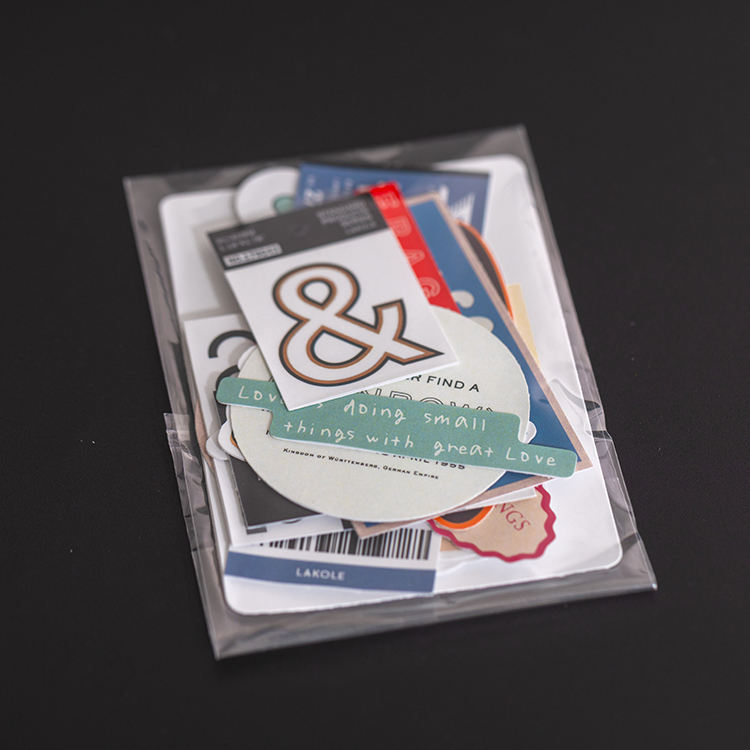
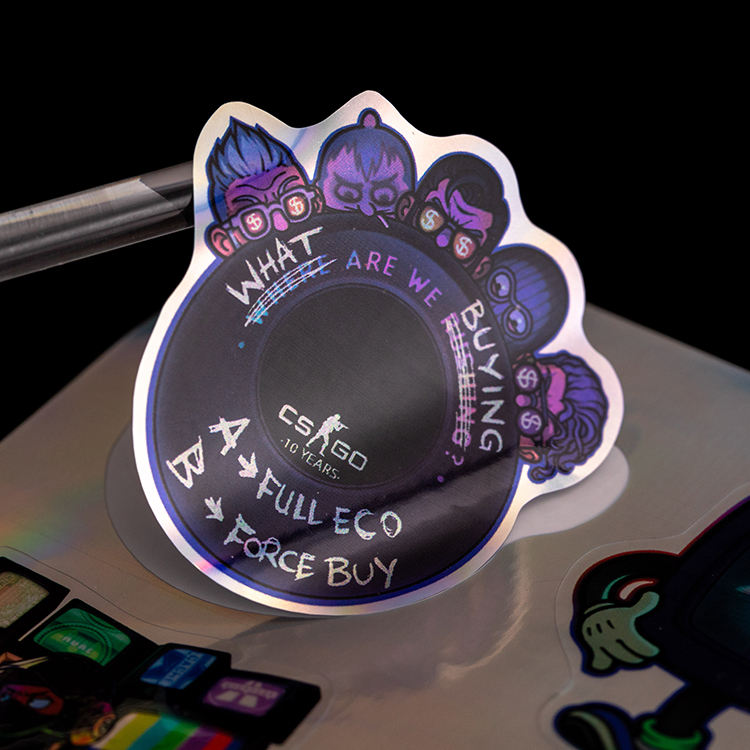
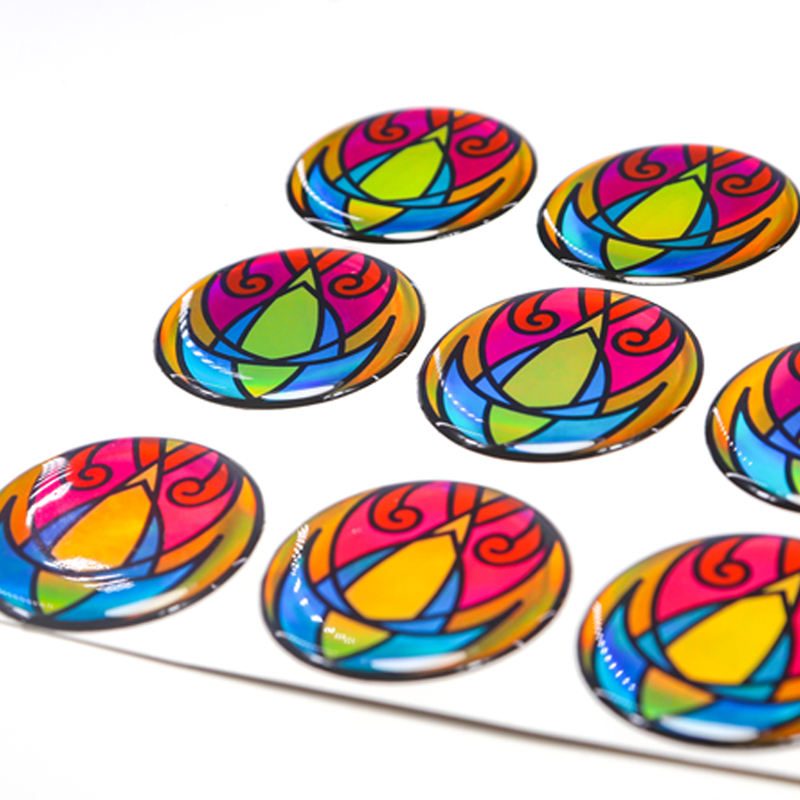
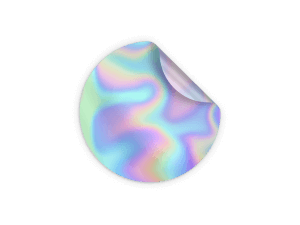
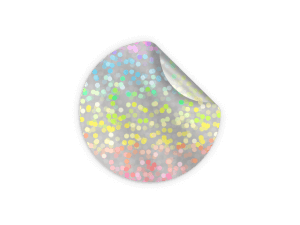
Holographic Stickers feature a dazzling, rainbow-shifting finish that changes color with light and movement, instantly capturing attention. Perfect for branding, merchandise, packaging, laptops, and event promos, these stickers add a futuristic and premium feel to any design. Durable, waterproof, and scratch-resistant, they’re built to last indoors and outdoors. Available in custom shapes and sizes, holographic stickers offer a bold, eye-catching way to make your artwork, logo, or message stand out and shine from every angle.
To ensure we can accurately produce stickers that meet your expectations, please provide the following information when placing your order:
1. Basic specifications such as shape, rolling finish, quantities, or other requirements.
2. Design Files (Optional, but strongly recommended)
Supported file formats: .ai, .eps, .jpeg, .jpg, .pdf, .png, .psd, .svg, .tif, .tiff
(If you don't have a design file, contact our customer service for free design and modification)
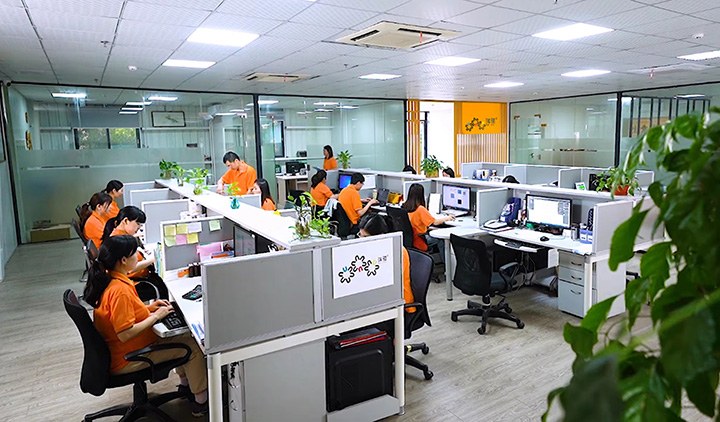
Stickerforgeco provides unique and vibrant colors and sharp designs to make your labels and stickers impressive.
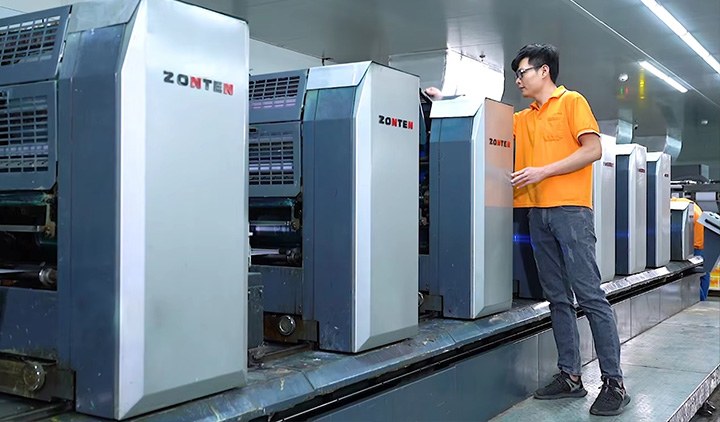
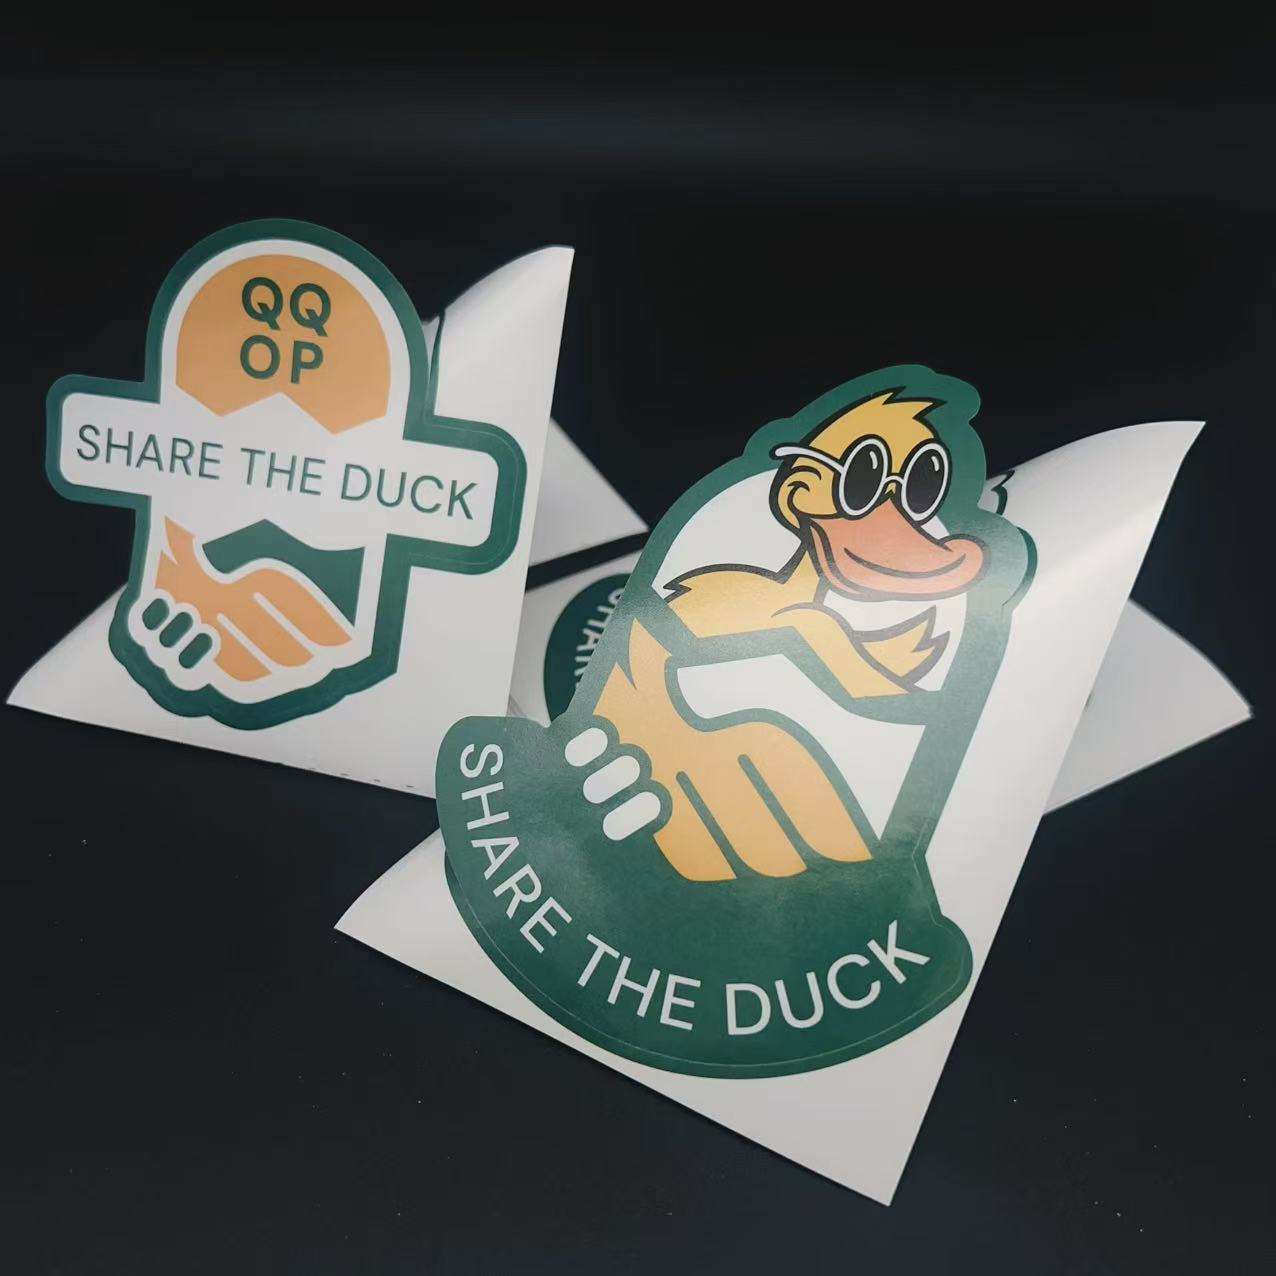
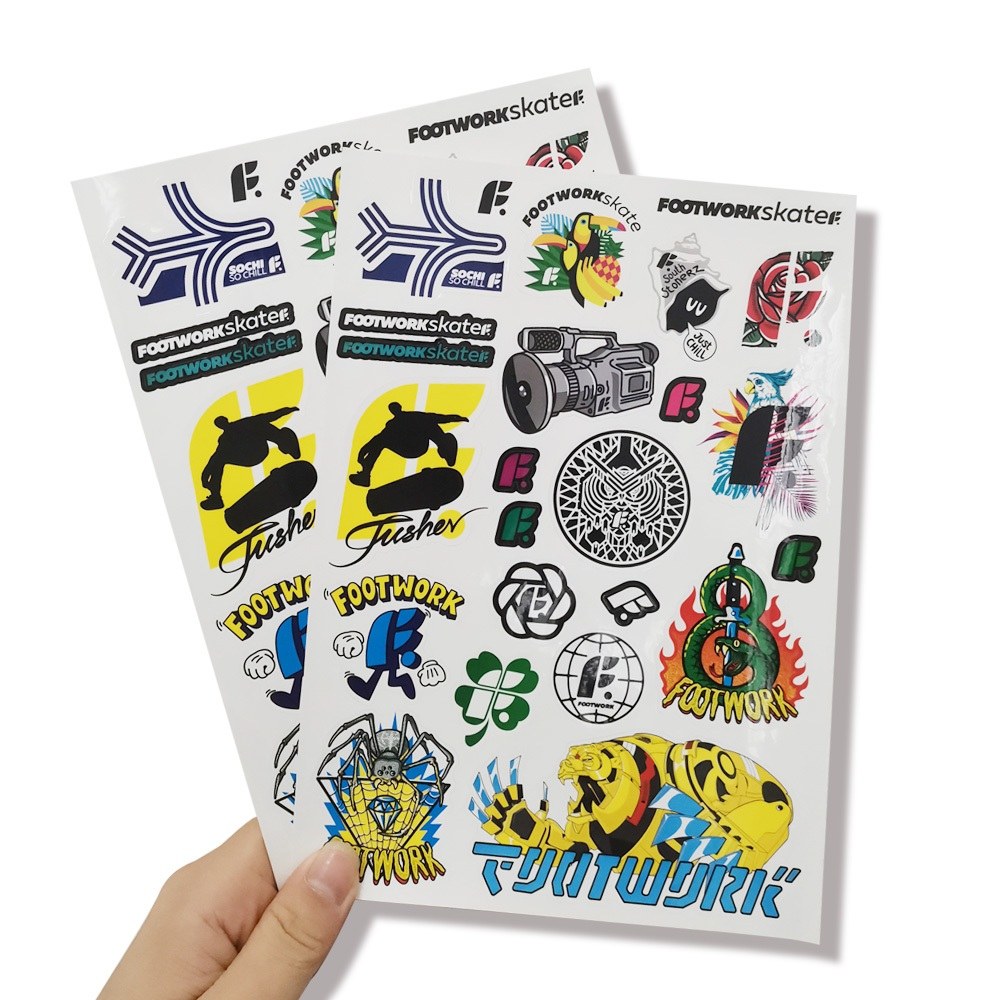
All custom stickers and labels are made with advanced printers and premium sticker materials tailored to your needs. The stickers and labels are impressive with sharp details and precise colors.
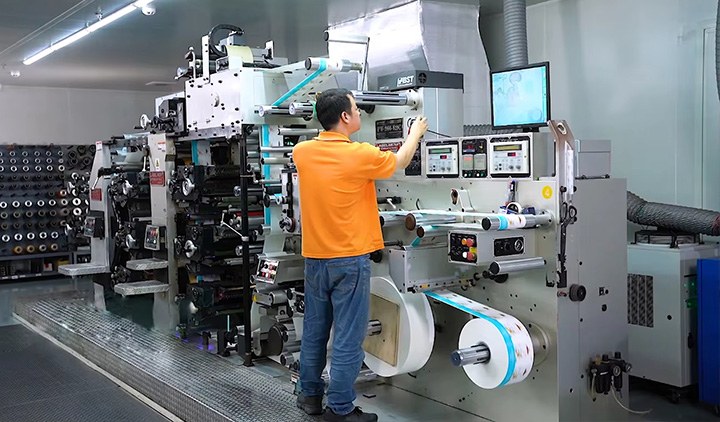
Stickers and labels are cut to the perfect shape, whether it's simple or complicated. Just send us the requested details, Stickerforgeco can make custom designs fit for your needs.
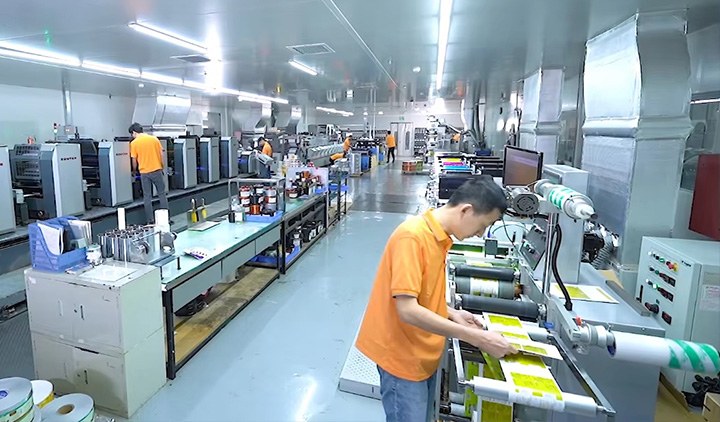
Stickerforgeco carries out meticulous inspections after the stickers and labels are made. We provide safe and careful packaging to ensure smooth delivery.
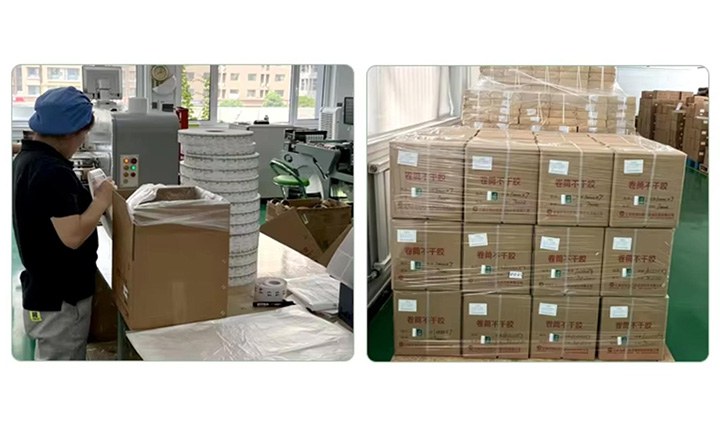
Each sticker and label is carefully packaged to ensure safe delivery. They are customized to match your business and branding.

Each order is inspected, packaged, and prepared for fast and express delivery. Stickforgego has established stable business cooperations with mainstream logistic companies to ensure smooth delivery worldwide.
A true holographic sticker is a precision-engineered optical device. Cheap holographic paper fades, peels, and loses its diffraction within weeks of UV exposure. For over 15 years, we have manufactured structural holographic matrices designed for aggressive outdoor environments, high-friction handling, and premium retail presentation.
We do not print on basic shiny vinyl. Our custom holographic stickers are built using a specialized 4-layer stack to ensure maximum kinetic light-shifting and physical durability:
Layer 1 (The Shield): A 2-mil clear UV-blocking overlaminate (available in High-Gloss or Soft-Touch Matte) that prevents scratching and ink degradation.
Layer 2 (The Print): High-definition, UV-cured CMYK + Opaque White Ink. The white underprint isolates your logo, preventing it from getting lost in the rainbow glare.
Layer 3 (The Core): A 3-mil metalized PET (Polyester) film. We use micro-embossing technology to engrave nano-scale ridges into this layer, refracting white light into a dynamic, shifting full-spectrum rainbow.
Layer 4 (The Anchor): A high-tack, pressure-sensitive acrylic adhesive designed to bond permanently to glass, powder-coated metals, and low-surface-energy (LSE) plastics.
Our holographic matrix is inherently waterproof and weatherproof. The hermetic seal created by our lamination process means these decals can survive 3 to 5 years of continuous outdoor exposure. They will not delaminate in heavy rain, car washes, or freezing temperatures, making them ideal for automotive bumpers, snowboards, and outdoor gear.
One of the biggest mistakes in holographic printing is letting the rainbow effect overpower the brand message or barcode. We utilize precision Spot-White Underprinting. By laying down an absolute, light-blocking white ink barrier underneath crucial text or QR codes, we guarantee 100% scannability and readability while the surrounding background remains brilliantly holographic.
Operating Temperature Range: -40°F to 200°F (-40°C to 93°C)
Adhesive Cure Time: 24 to 72 hours for maximum bond strength.
Application Surfaces: Glass, aluminum, stainless steel, cardboard, and rigid polymers.
Our laser cutting process ensures a clean, professional finish—designed to reduce peeling and maintain durability across packaging and product applications.
1/8” (0.125”) for smooth, consistent results
1/25” (0.04”), available when your design allows for more precise cuts
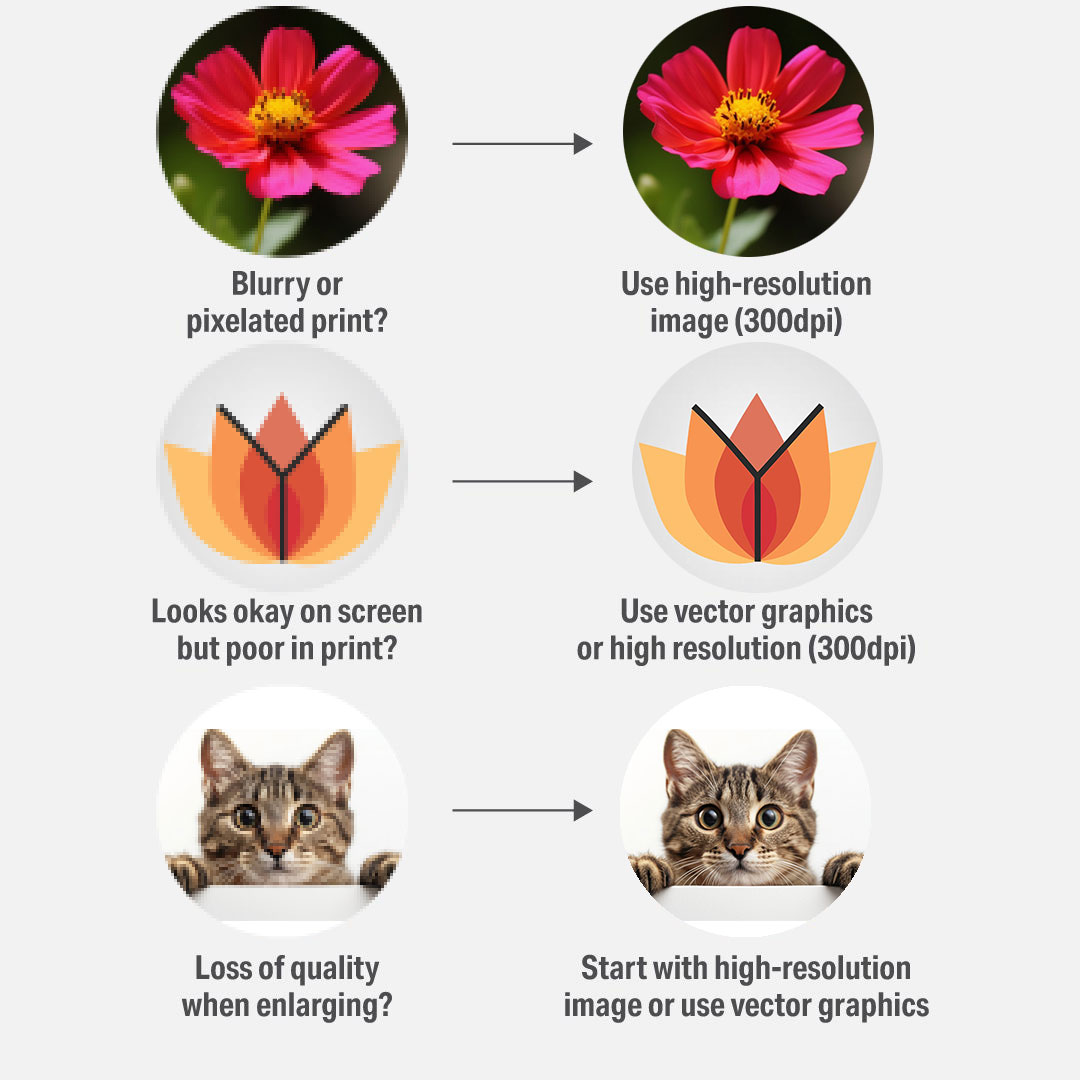
Artwork resolution plays a crucial role in print quality. Here's why 300 DPI is the standard for printing:
High DPI ensures your design looks clean and professional without pixelation.
More pixels result in more precise color representation.
Avoid blurry, distorted prints that may harm your brand's image.
To set up artwork for die-cut stickers, use two layers: one for the artwork and one for the cut path. Ensure your document includes a bleed area ( 0.125 inches), is set to the final size, and has a resolution of at least 300 DPI in CMYK color mode. The cut path should be a distinct, 1-pixel stroke on its own layer, at least 0.25 inches from other cut paths.
Artwork Setup
Size & Layout Guidelines
| Minimum Size: | 0.50” x 0.50” |
| Maximum Size: | 11” x 14” |
| Safety Margin: | Leave at least 1/8” (0.125") of space around the edge of your design to prevent accidental trimming |
| Small Details: | We can print fine elements and fonts as small as 5 pt clearly |
| Wrap-Around Labels: | For containers like tubes or jars, add 1/4” to the length so the label overlaps cleanly |
Design considerations
1.Transparency: Make sure your background is transparent, especially if you are using a die-cut design. The die-cut will follow the outer edge of your artwork, so any background colors should extend to the bleed line to ensure there are no white edges after cutting.
2.Layers: Create at least two layers: one for your artwork and one for the cut path.
Artwork Layer: Place your design on the bottom layer. Ensure that any background colors or elements extend all the way to the bleed line for a seamless edge.
Cut Path Layer: Create the cut path on a separate layer, often named "Cut Path" or "cut". This should be a vector path outlining the shape of your design.
3.Use a 1-Pixel Stroke: Define the cut path with a 1-pixel stroke (any color is fine, but 1-pixel is standard). This ensures the cut path is clearly visible for the printer and die-cutter.
4.Naming the Layers: Some printers may have specific naming conventions for the cut path layer. Always check with your provider to ensure it’s named correctly.
5.Add an Outline: Optionally, you can add a white or colored border (0.125 inches is common) around your design. This will help your design stand out and provide a clean, defined edge after cutting.
6.Simplicity: For die-cut stickers, bold, simple designs work best. Intricate or tiny details may be hard to cut accurately, especially with small designs.
7.High Contrast: Designs with high contrast (e.g., dark text on a light background) tend to stand out more and look clearer when cut into specific shapes, making your stickers more eye-catching.
8.Cutting Considerations: When creating the cut path, avoid overly intricate shapes that might be hard to cut with precision. Simple, bold outlines tend to work better for die-cut stickers, ensuring the shape is clean and crisp.
Industry-Specific Requirements
If your labels need to meet compliance or packaging standards (e.g., food, cosmetics, supplements), make sure your design includes all required elements—we print what you provide.


 +8618128095554
 sales@stickerforgeco.com
 +8618128095554